Terror Island Part 3 (4 of 4) – Stills 4, 5

Here is the fourth of four installments, where I share stills and describe the scenes in chronological order from Part 3 which is missing from the current version of Terror Island.  This post begins where the previous installment left off.

Beverly is worried having not received an answer to her call.

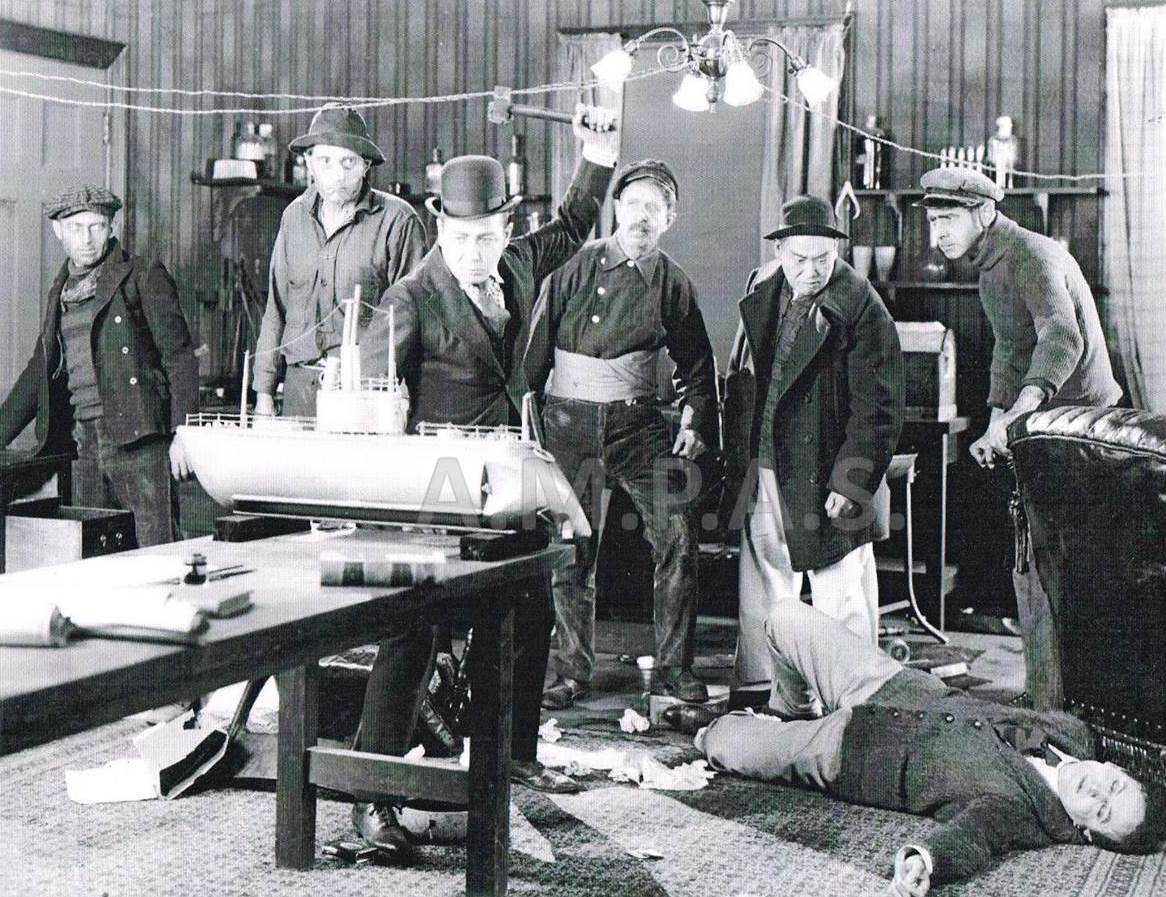
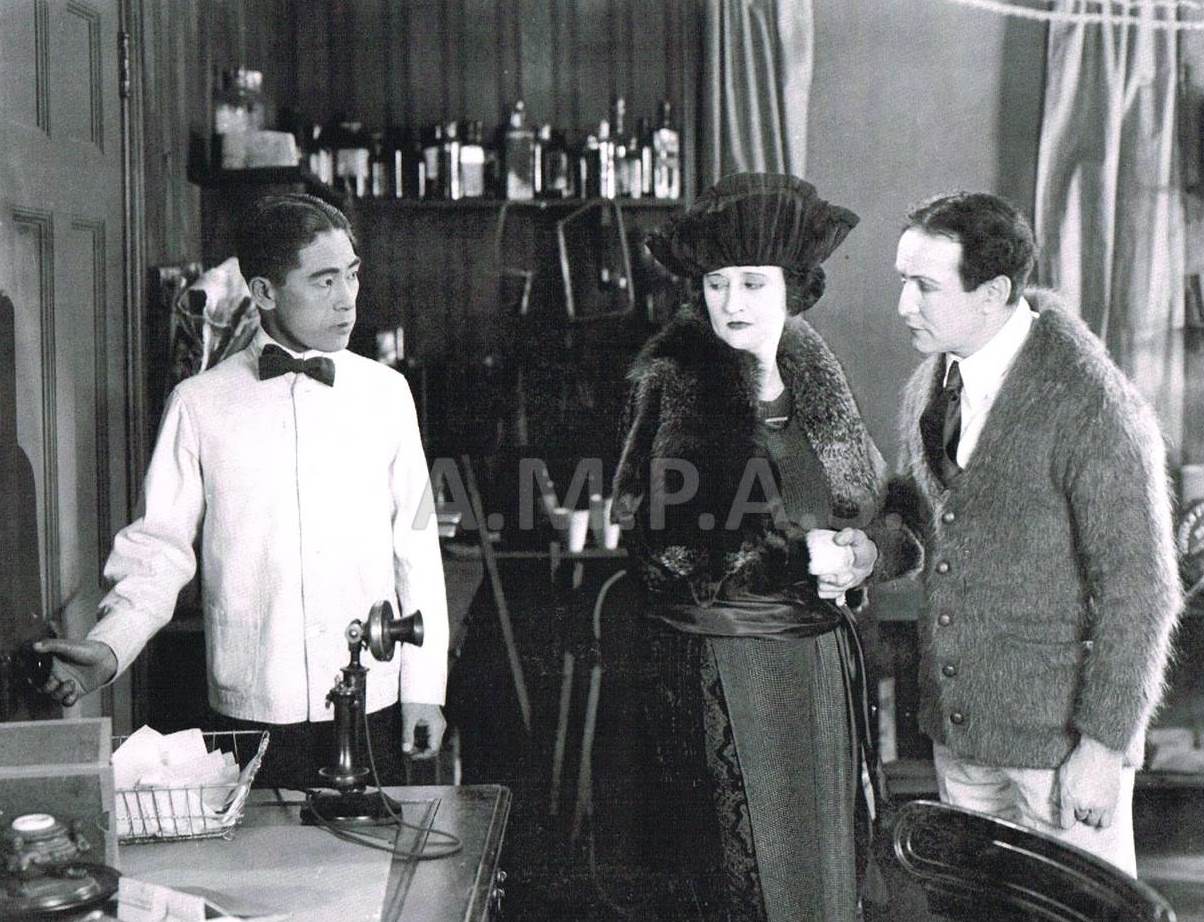
Harper drawing himself up painfully, by aid of desk, gains his feet. Sato staggers in from kitchen.  He explains how he was overpowered.  Starkey staggers in and falls.

Harper says:  “Miss West do you think she is safe?”

The phone is found to be disconnected.

318-4 wmc

[318-4]

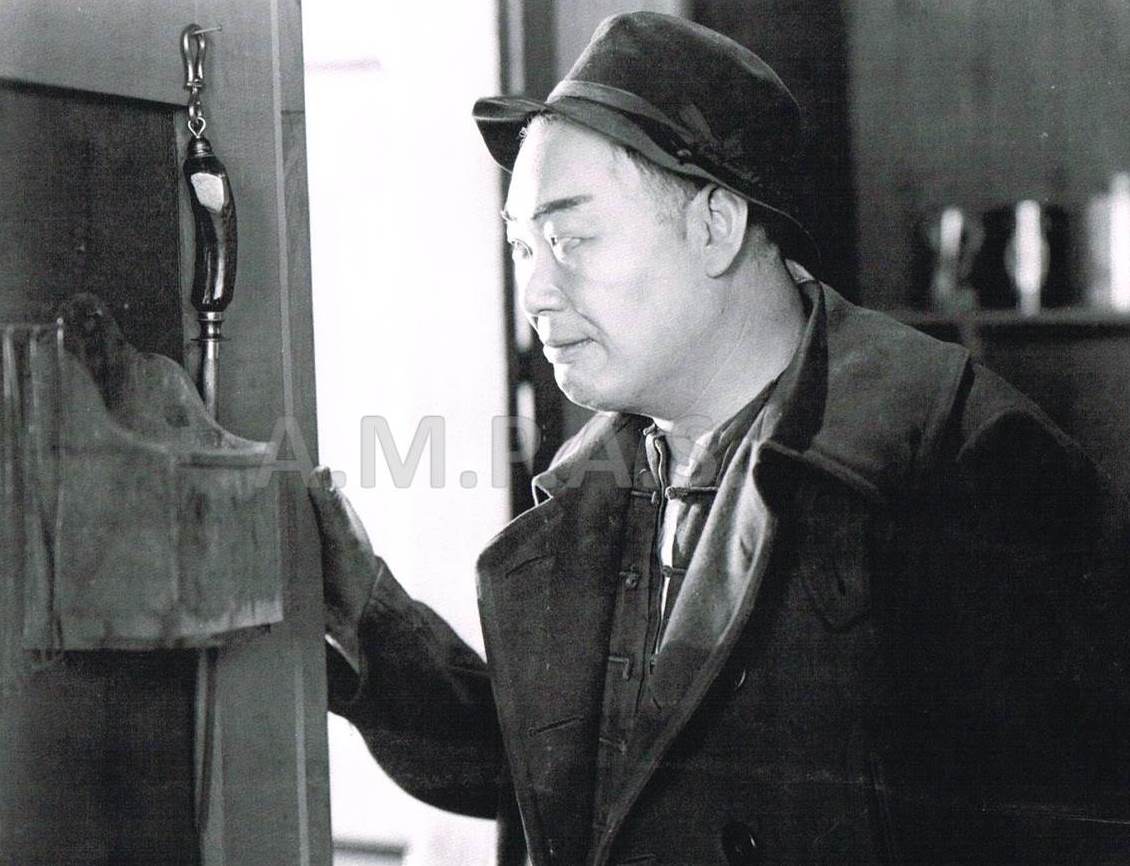
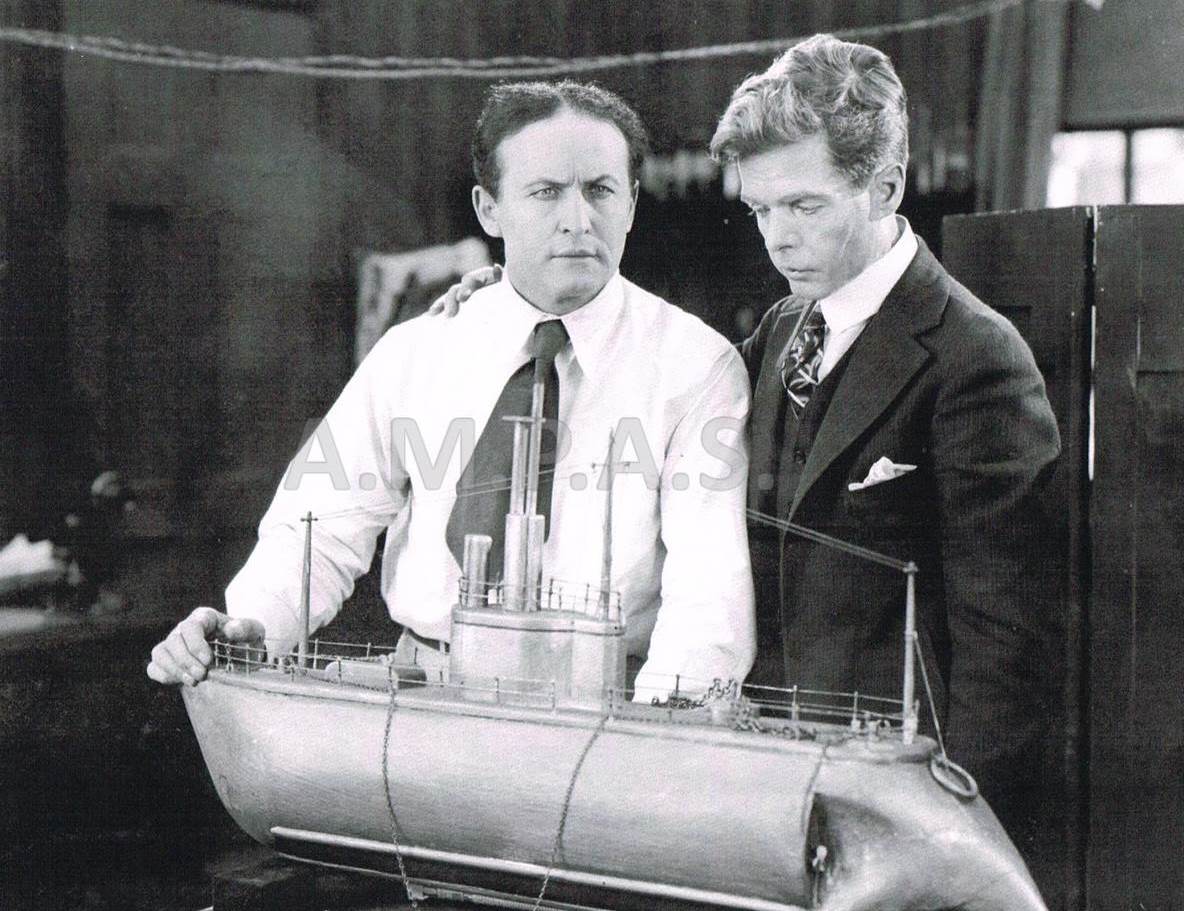
Harper sees smashed model.  He goes to the fireplace and sits in easy chair.  The cat jumps on his lap.

318-5 wmc

[318-5]

Starkey fixes phone.

Harper looks in direction of Starkey – smiles – takes box from cat’s neck – glances at it – then let eyes turn upward as he thinks of Beverly.

Beverly answers phone as she hears the voice of Starkey on the other end. FADEOUT

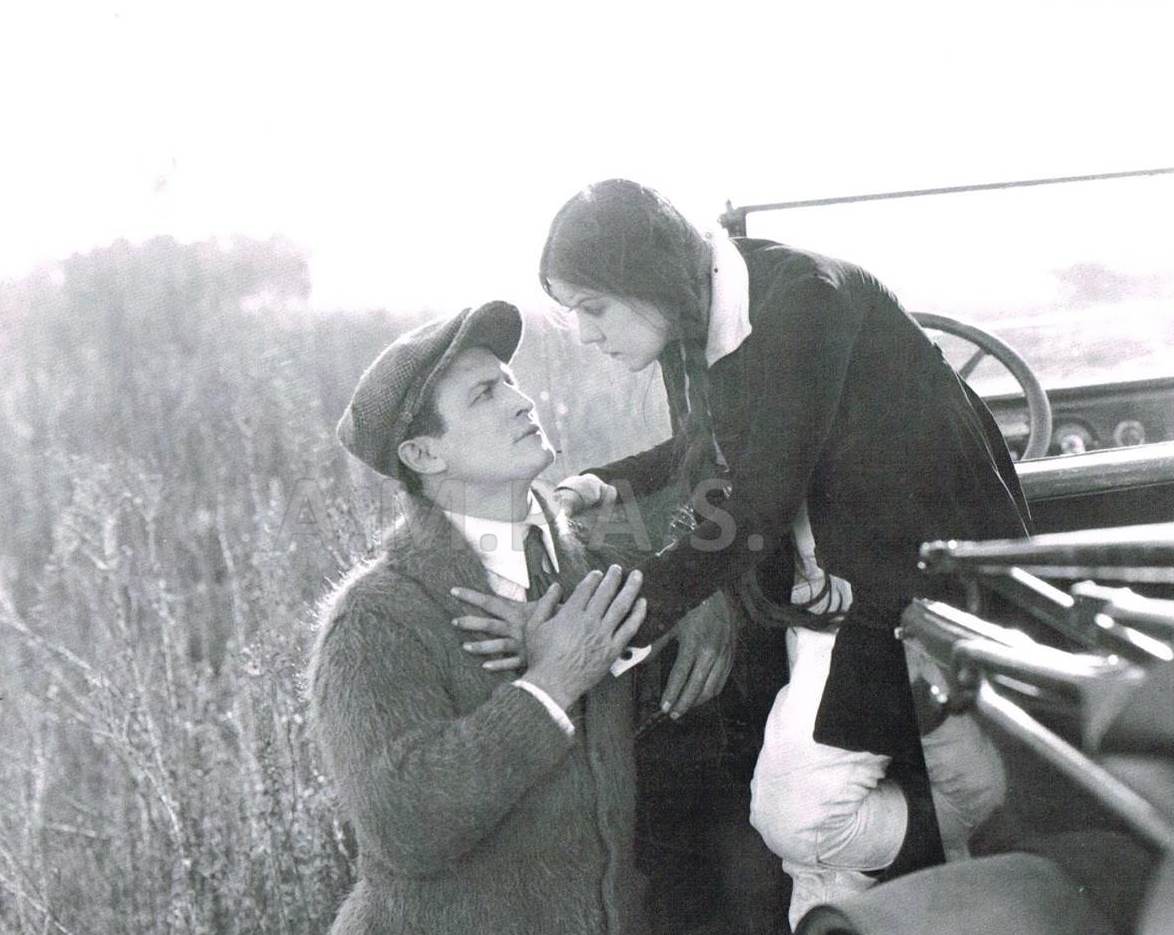
Outwitted in his efforts to secure the map, Guy Mordaunt turns his attention to Harper’s submarine, hoping to block the inventor.

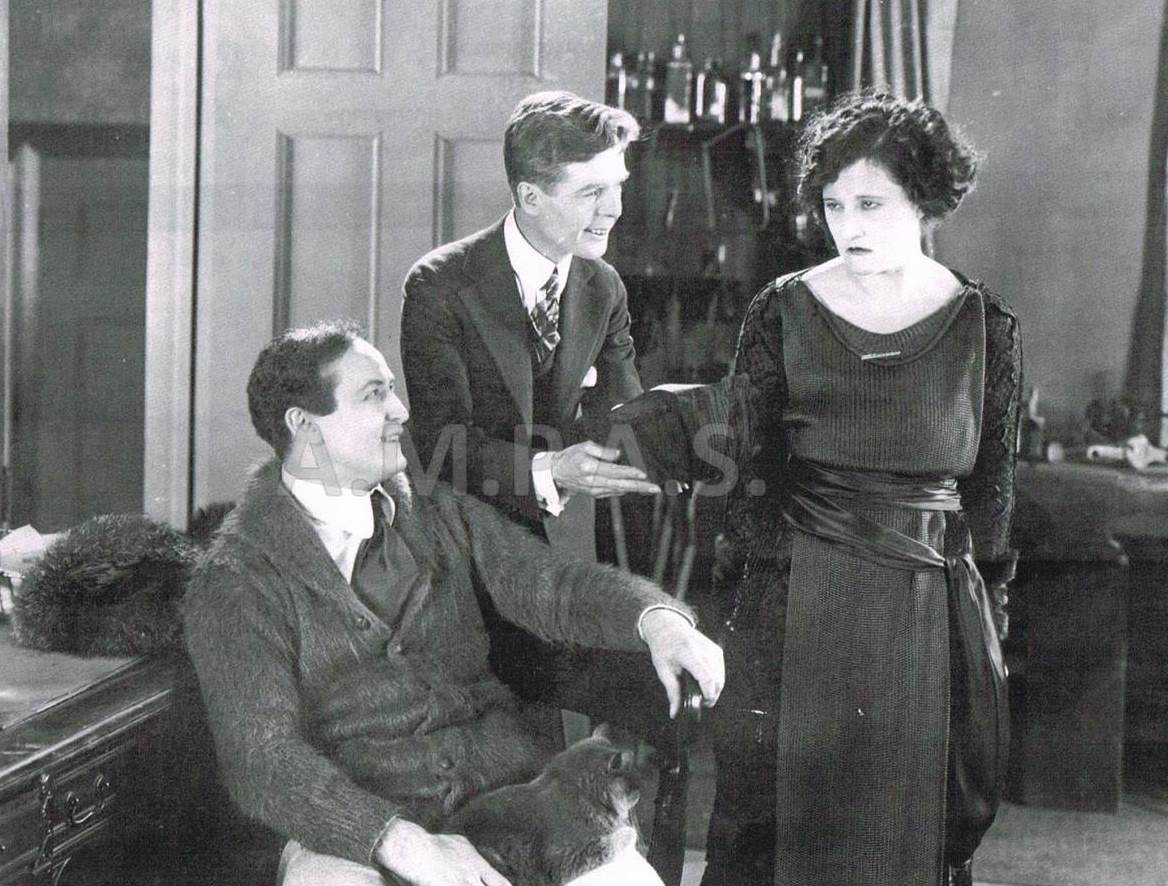
The next day, Harper, Starkey and Beverly are in the dining room and Harper hands Beverly the jewel-box.

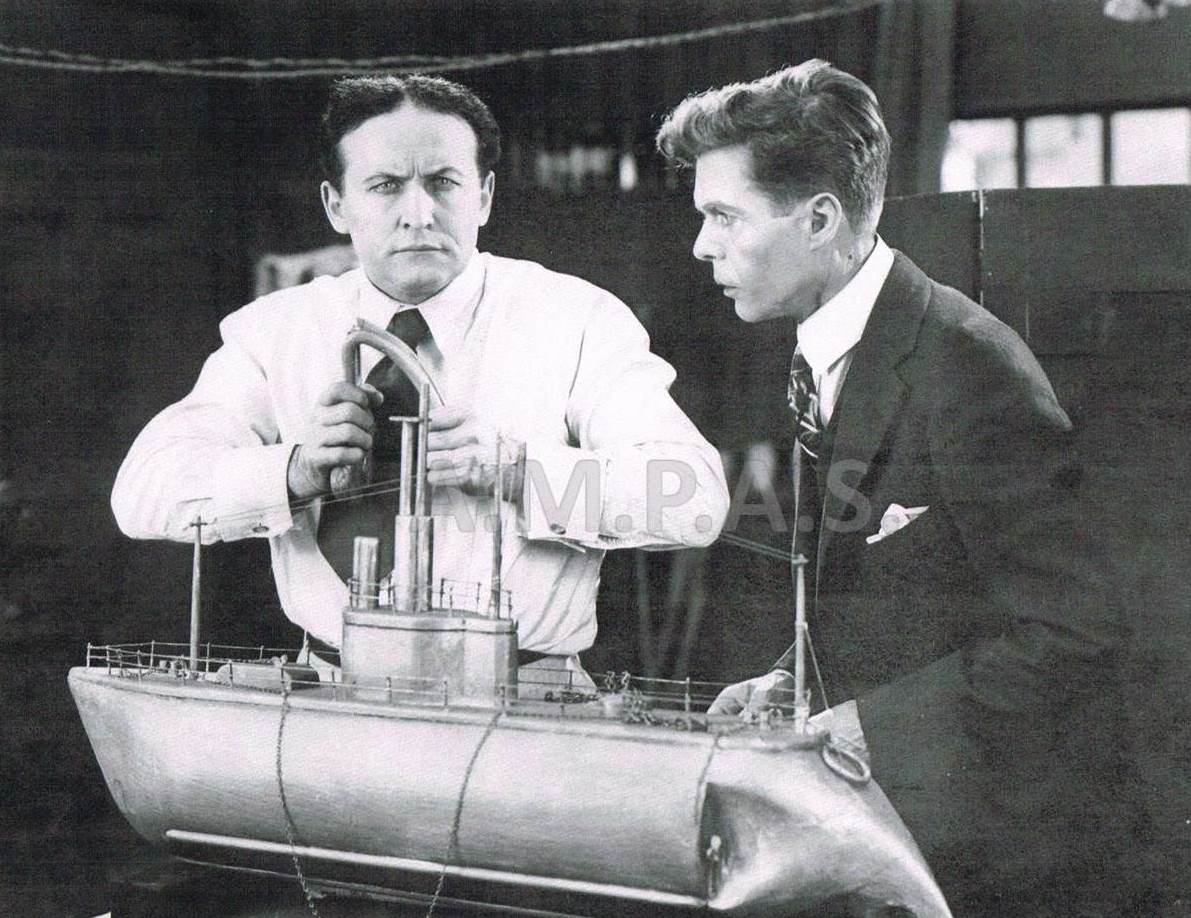
Sato and the Watchman enter the dining room and the Watchman says: “Somebody knocked me cold and put the sub out of commission – all of the gauges are smashed.”

Harper jumps to his feet, Beverly rises. Starkey gets up.  All show excitement as they prepare to depart.

End of Part 3.

Credits:

  • Cropped Stills – Academy of Motion Pictures Arts and Sciences (A.M.P.A.S.)
  • Paraphrased Scenes – Paramount Files at Margaret Herrick Library

Terror Island Part 3 (3 of 4) – Stills 17, 18, 15

Here is the third of four installments, where I share stills and describe the scenes in chronological order from Part 3 which is missing from the current version of Terror Island.  This post begins where the previous installment left off.

318-17 wmc

[318-17]

The two sailors rush forward.  Guy and two more sailors enter.  All begin a search of the desk and surroundings. Guy kneels beside Harper and searches his pockets, throwing a bunch of keys on desk which he takes from pockets.

318-18 wmc

[318-18]

The Japanese Assistant disables phone.

Guy reaches into basket and lifts out cat – holds cat by the neck while he empties contents of the basket – then tosses cat from him.  He is unable to find the box.

Guy looking down at Harper with angry, vengeful expression – leans forward as if to vent his wrath on the unconscious man.  Suddenly he straightens – picks bunch of keys and turns toward model.

318-15 wmc

[318-15]

Guy goes toward model in angry mood – picks up hammer and smashes model.  Guy and Sailors exit.

Credits:

  • Cropped Stills – Academy of Motion Pictures Arts and Sciences (A.M.P.A.S.)
  • Paraphrased Scenes – Paramount Files at Margaret Herrick Library

Terror Island Part 3 (2 of 4) – Stills 14, 19, 20, 16

Here is the second of four installments, where I share stills and describe the scenes in chronological order from Part 3 which is missing from the current version of Terror Island.  This post begins where the previous installment left off.

Sato, Harper’s Japanese Assistant opens the door and is confronted by Mordaunt’s Japanese Assistant.

As Starkey exits, one of two sailors that slipped along the wall fells Starkey with blackjack.  He crumbles on the steps.

318-14 wmc

[318-14]

Harper slowly rises to his feet, revolver in hand.  With left hand he motions over shoulder and calls “Sato!”

Mordaunt’s Japanese Assistant is seen bending over Sato, who has been rendered unconscious. We then see  Mordaunt’s Japanese Assistant pick up a heavy steel from table and exit toward where Harper is.

318-19 wmc

[318-19]

Without looking around, Harper motions, who he thinks is Sato, to come forward.  The Mordaunt’s Japanese Assistant comes quickly and silently behind him and raises steel.  At the same time, the faces of the two sailors appear in hall door.  Harper raises revolver.

318-20 wmc

[318-20]

The sailors are slowly raising their hands at a command from Harper.  Their eyes are staring as they watch the Japanese Assistant behind him.  By their faces, one sees the blow has fallen.

318-16 wmc

[318-16]

The Mordaunt’s Japanese Assistant stands over Harper, ready for another blow, but Harper is unconscious.

Credits:

  • Cropped Stills – Academy of Motion Pictures Arts and Sciences (A.M.P.A.S.)
  • Paraphrased Scenes – Paramount Files at Margaret Herrick Library

Terror Island Part 3 (1 of 4) – Stills 9, 7, 1, 3, 8, 10, 6

318-45 wmc

[318-45]

As promised in a previous post, here is the first of four installments, where I share stills and describe the scenes in chronological order from Part 3 which is missing from the current version of Terror Island. This post begins where Part 2 ends on Kino; Part 2 ended with Beverly giving Harper[Houdini] the box with the pearl in it. “My uncles coming! Keep this for me!”

One of Guy Mordaunt’s men “saw the dame slip the box to that scrappy guy”.

We see a close-up of the pearl in jewel box, held in Harper’s hand and Guy crouching outside the window of the Library

Stella has a plan to get the jewel-box from Harper.

318-9 wmc

[318-9]

Harper rises as Stella enters.

Stella speaks: “My Cousin West, is terribly worried about her jewel – a keepsake, you know – and she sent me for it – just couldn’t sleep without it.“

Harper is about to hand her the box when he looks down beside desk as though attracted by a sound.

A cat on floor looks up at desk.  Harper speaks to cat, stoops and picks her up, placing her on the desk and strokes her back.

318-7 wmc

[318-7]

Harper is praising the cat, as Stella holds hand out for jewel.  The phone rings; Harper sits and places cat on lap and picks up phone.  It is Beverly on the phone who says: “I am a bit nervous and – worried. I know my jewel case is safe with you – but don’t let it out of your hands”

Harper hangs up, as Stella demands the jewel case.  Harper says: “Tell your cousin that I will give it to no one but herself.”

318-1 wmc

[318-1]

As Harper is stroking cat on lap, his hand comes from jacket pocket and secretly fastens box to cat’s collar by a rubber band which the long hair of the cat covers.

318-3 wmc

[318-3]

Stella demands the box and Harper shakes his head.

318-8 wmc

[318-8]

As Harper sits at desk stroking cat, Starkey comes from behind chair

318-10 wmc

[318-10]

and indicates he will take Stella home.

318-6 wmc

[318-6]

Stella and Starkey exit.

Credits:

  • Cropped Stills – Academy of Motion Pictures Arts and Sciences (A.M.P.A.S.)
  • Paraphrased Scenes – Paramount Files at Margaret Herrick Library