The Mission Inn 3649 Mission Inn Avenue, Riverside, California
Houdini stayed at the Riverside Mission Inn while filming underwater “Deep Sea Loot” movie scenes at Elliotta Springs Plunge.

Elliotta Springs Plunge, 1920
Let’s take a closer look at the evidence.
Based on an autographed letter on Mission Inn stationary that sold at auction,
HOUDINI, Harry. Autograph letter signed “Houdini” to Don Turley, “We are out here on location. Xpect to be here about 5 or more days.”
Riverside, CA: 2 November 1919. 1 page on The Mission Inn stationery. With original mailing envelope addressed in Houdini’s hand. Condition: usual folds, envelope torn at right where opened. harry houdini autograph letter written while on location filming the master mystery.
Houdini was at the Inn on 2 November 1919 and expected to be there about 5 or more days.
I contacted Steve Spiller, the executive director at the Mission Inn Museum, for more information on Houdini’s visit.
Steve got back to me right away and let me know that he forwarded my request to Karen Raines, the curator of history at the Mission Inn Museum and Kevin Hallaran, the archivist at the Riverside Metropolitan Museum.
Karen was able to locate a November 6, 1919 article in the Riverside Daily Press paper that says he was staying in Riverside. She confirmed he did film the underwater scenes for the movie at Elliotta Springs, which is no longer there; it was up on Strong Street near Main.

Steve looked through their holdings and let me know that they didn’t have much information on Houdini’s visit, but did provide me a nice 1920 photograph of Elliotta Springs Plunge and an excellent reference to a book by a local author Joan Hall, called Through the Doors of the Mission Inn. Vol.1 that contained a very interesting chapter on Houdini’s stay in town. Below are a few relevant excerpts:
In NOVEMBER 1919, the Riverside Press noted that world-famous magician and escape artist, Harry Houdini, had been secretly staying at the Mission Inn for a week. Normally, the publicity-seeking Houdini would have wanted the world to know where he was and what he was doing. But in this instance Houdini was making a motion picture for Lasky Studio of Hollywood and he and the entire cast were quietly housed at the Inn. Director Jim Cruze, a former motion picture star himself, was taking shots of Houdini in a series of underwater scenes at the Riverside’s Elliotta Springs Plunge. Crowds of fans were evidently to be avoided this time.
…
The plunge was located about a mile from the Mission Inn near north Main and Strong streets. In 1898, William Elliott sank several wells to furnish a continuous flow of water to fill a large, public swimming pool. The white sulfur spring water attracted swimmers as well as many early Hollywood motion picture companies. Buster Keaton and Annette Kellerman were two stars who made movies in Elliotta.
…
While Houdini and the Lasky Studio crew were staying at the Mission Inn, Riverside experienced a sharp but quick earthquake on November 4.
…
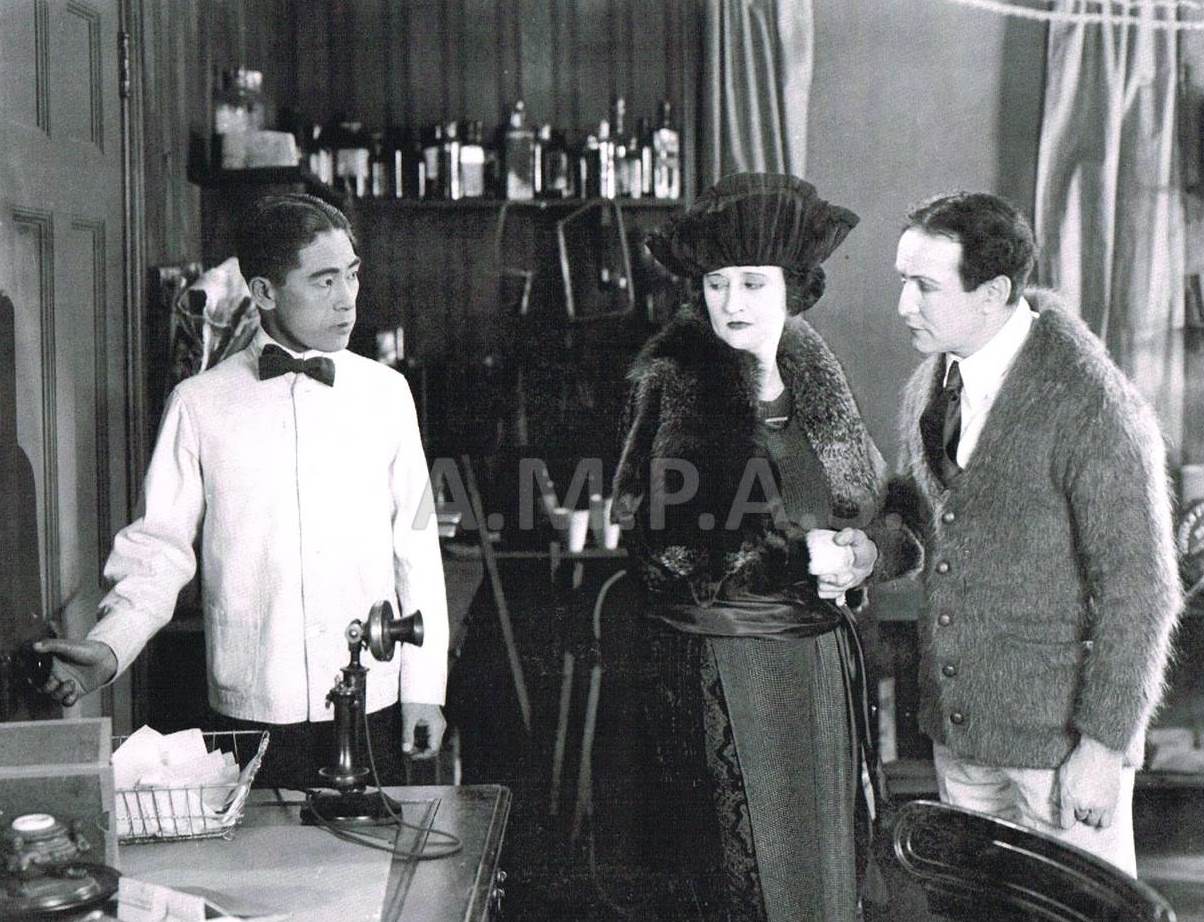
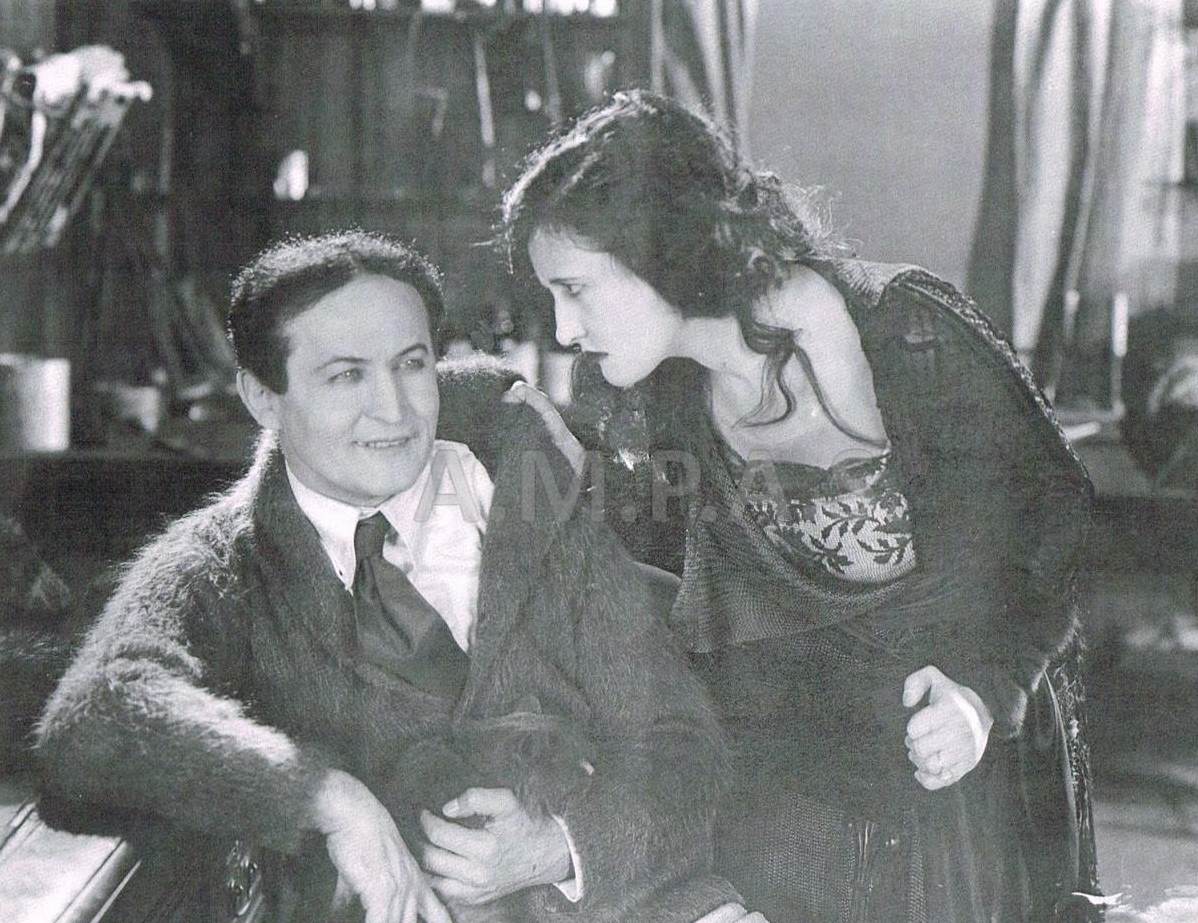
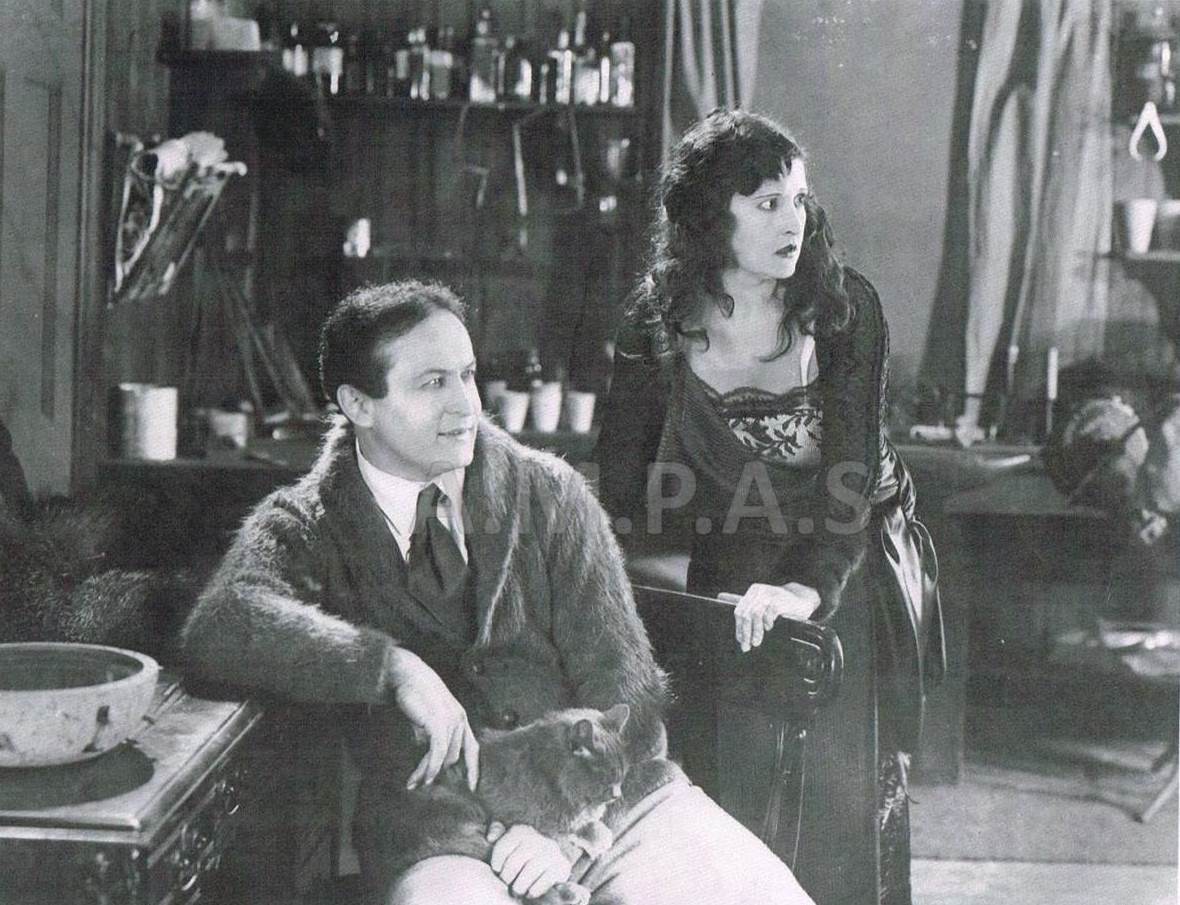
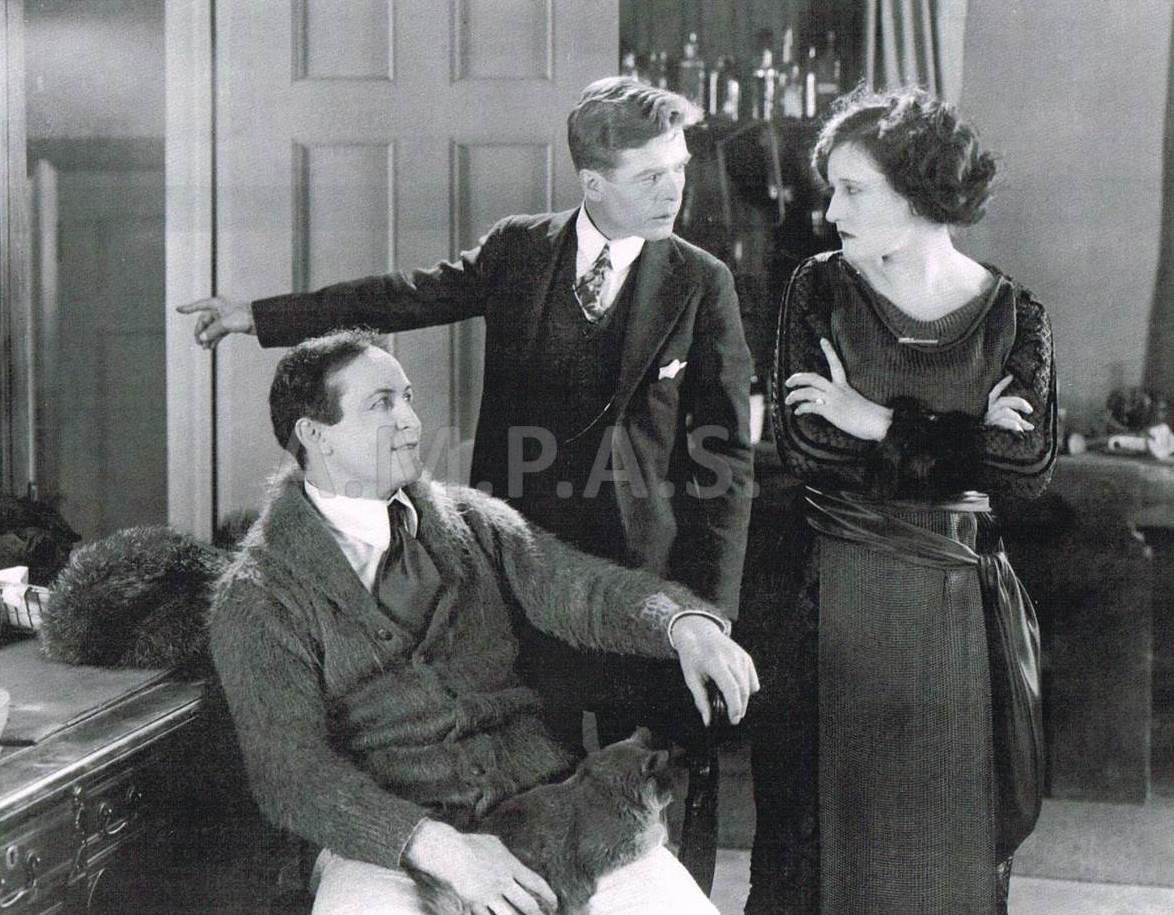
Many years later, few Riversiders remembered Houdini had performed underwater scenes at Elliotta Plunge or that he had spent a week at the Mission Inn. The picture [“Deep Sea Loot”] was never completed and the Great Houdini received no publicity about his secluded Riverside visit.
Special Thanks to Steve Spiller, Karen Raines, Kevin Hallaran and Joan H. Hall for making this post possible.
Related: